|
|
Post by carguy4471 on Apr 19, 2012 11:02:39 GMT -4
I really wish there were, but unfortunately no. I was thinking about making a set of test skids but since the mechanics are engineered for this fuse I think the CG would be too far off to fly. And there is no where to mount a battery on the frame really.
I think I'm going to just throw some training gear on it for the first few test hovers.
|
|
|
|
Post by carguy4471 on Apr 21, 2012 2:47:22 GMT -4
I got most of the mock-up done. I wanted to finish this portion of the build up because there is an R/C airshow tomorrow that I'll be bringing this out to for folks to have a peek at. This will at least allow them something to look at, although it's not complete. Here is what we've got. 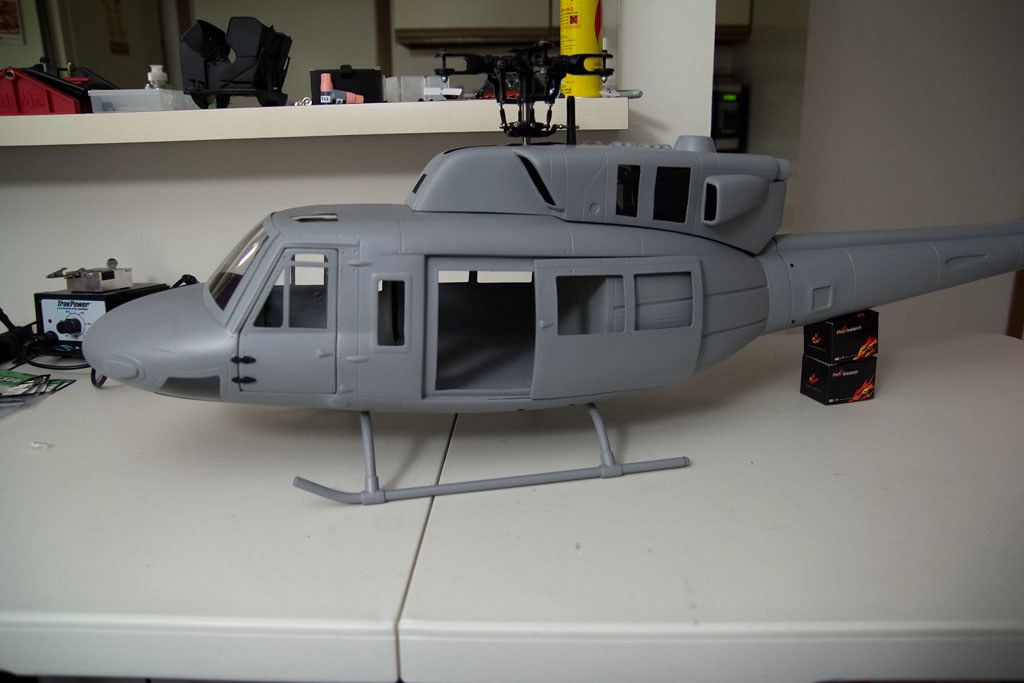 IMG_1506_01 IMG_1506_01 by carguy4471, on Flickr  IMG_1507_02 IMG_1507_02 by carguy4471, on Flickr 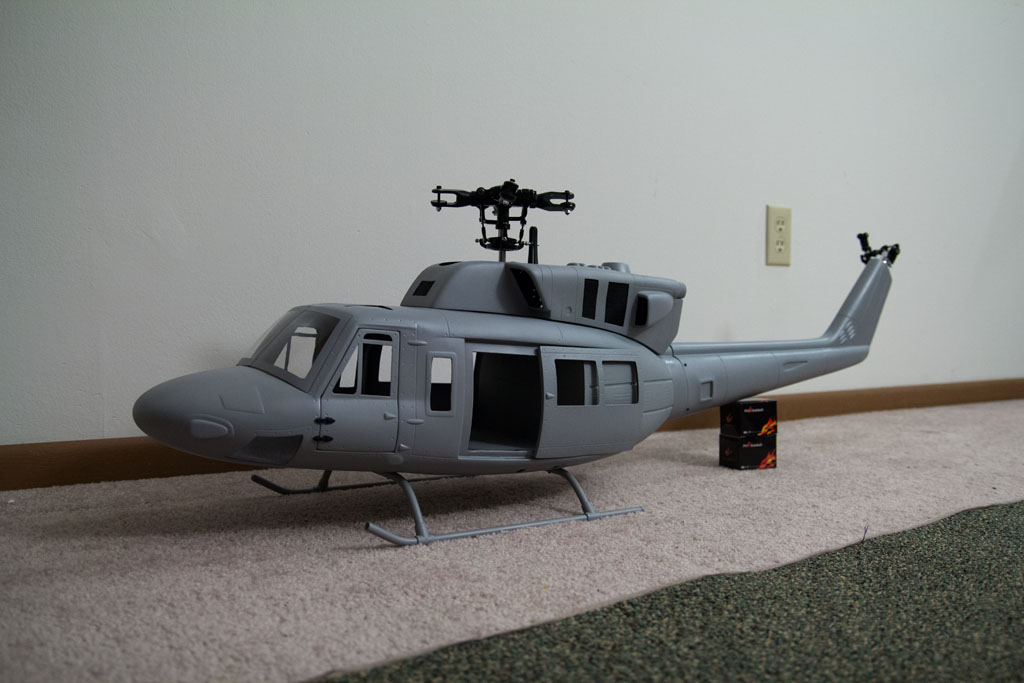 IMG_1508_03 IMG_1508_03 by carguy4471, on Flickr 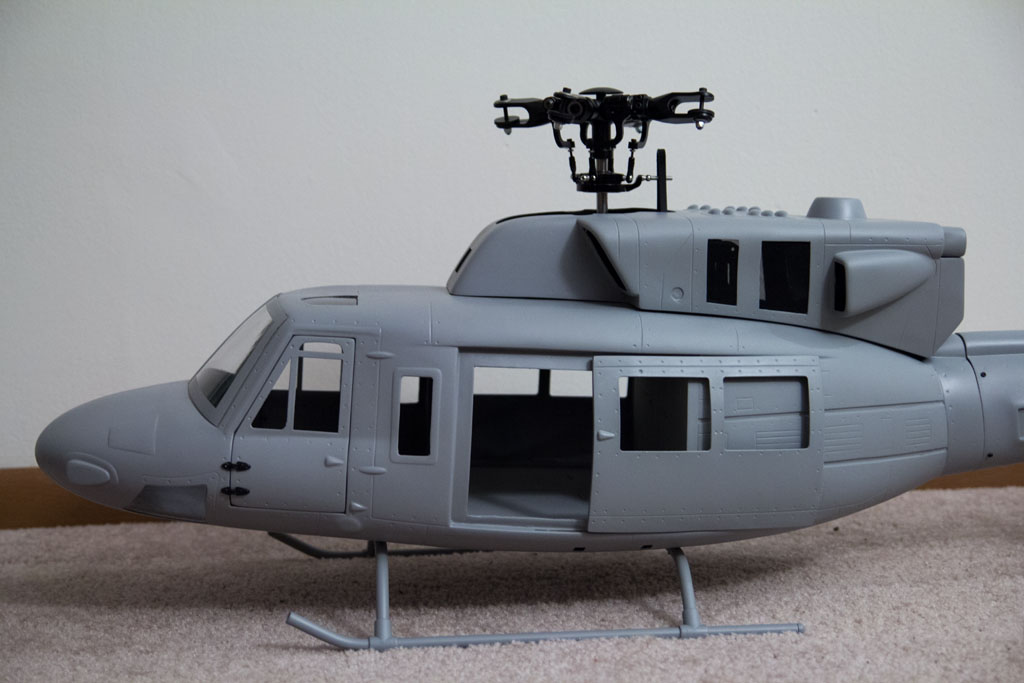 IMG_1511_04 IMG_1511_04 by carguy4471, on Flickr 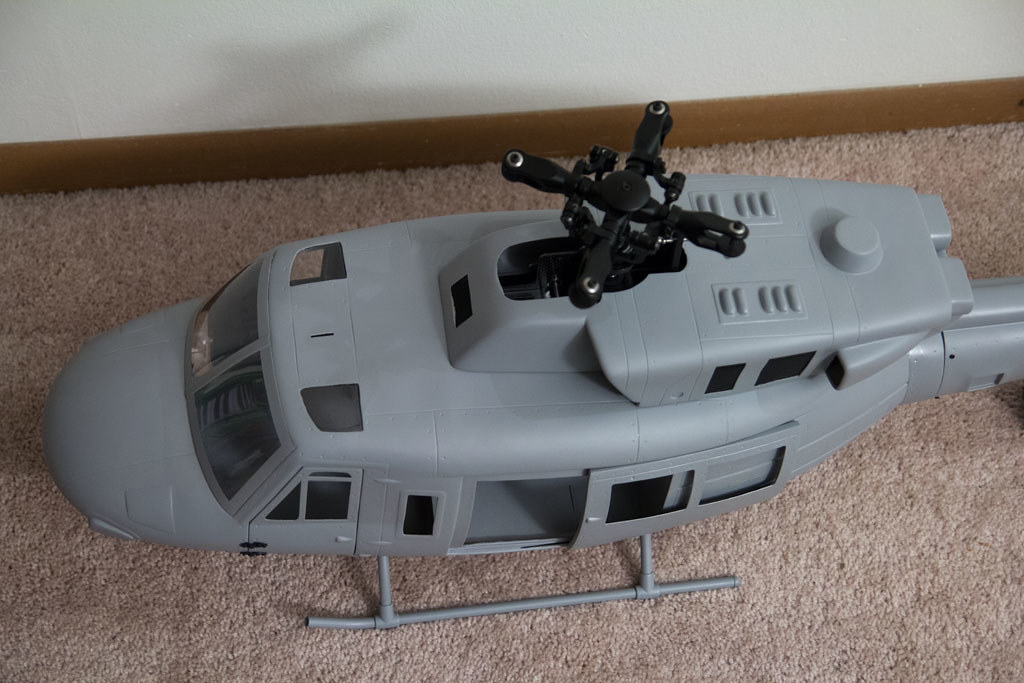 IMG_1512_05 IMG_1512_05 by carguy4471, on Flickr 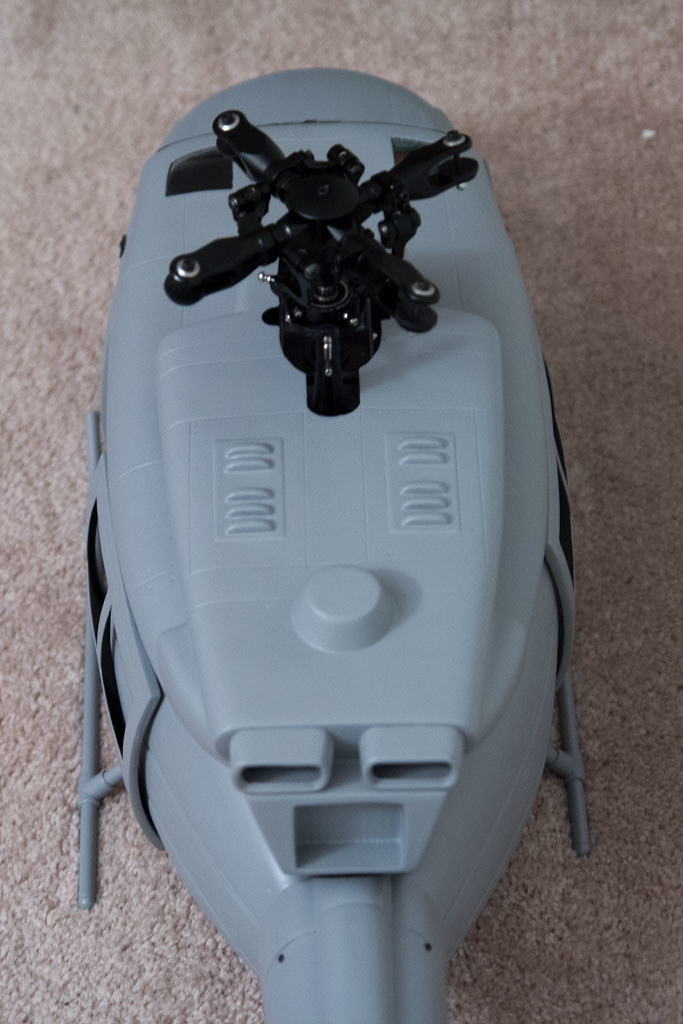 IMG_1514_06 IMG_1514_06 by carguy4471, on Flickr 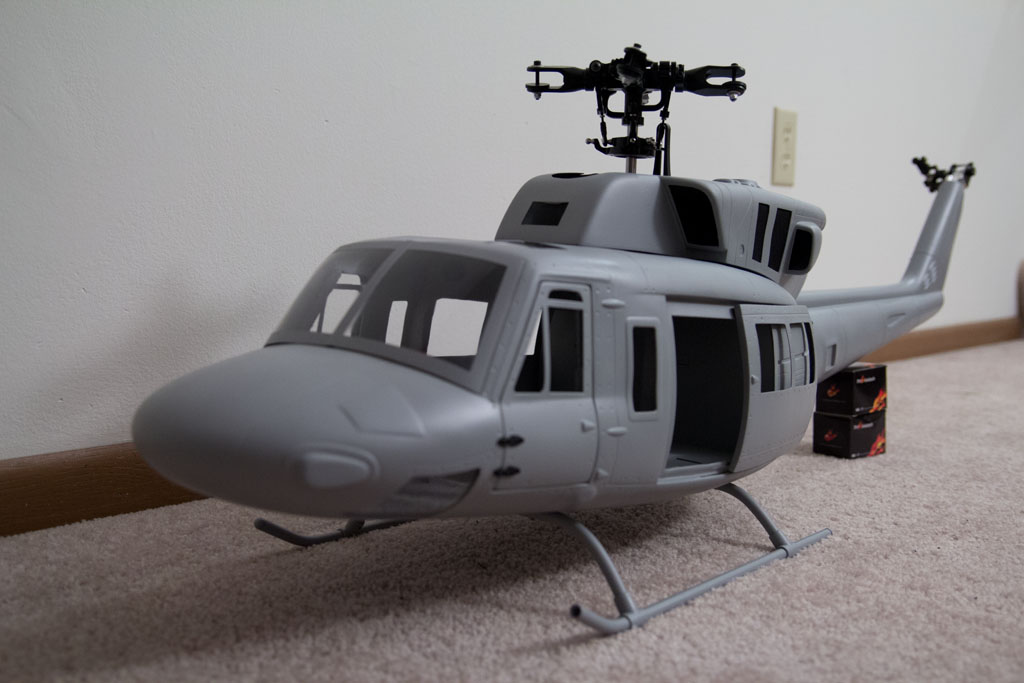 IMG_1517_07 IMG_1517_07 by carguy4471, on Flickr And since this will be on display, folks should know what they are looking at. 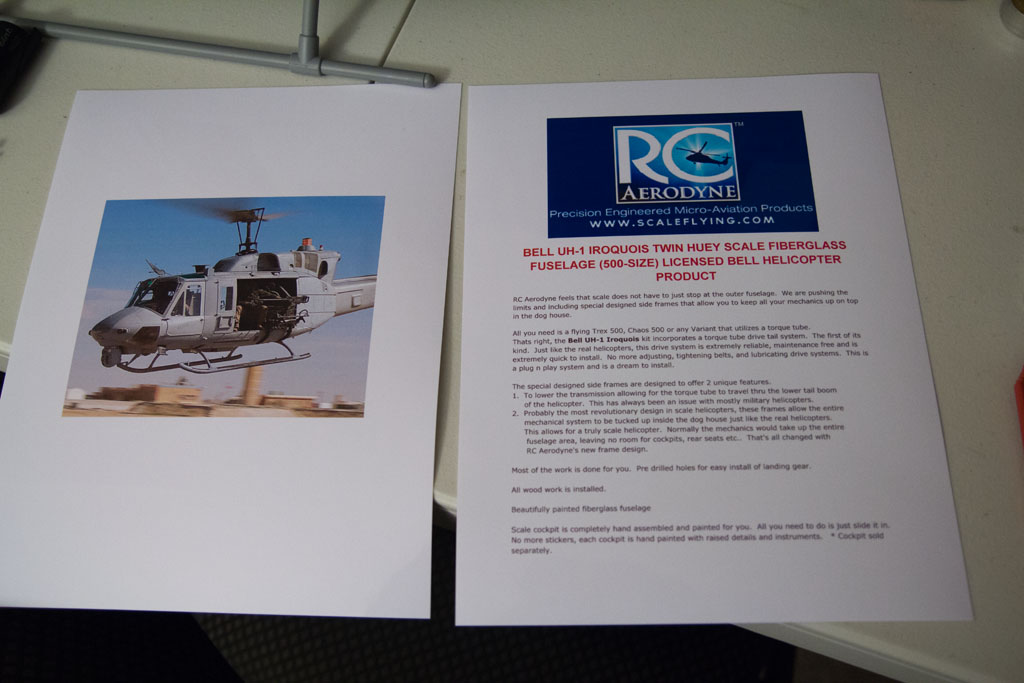 IMG_1518_01 IMG_1518_01 by carguy4471, on Flickr 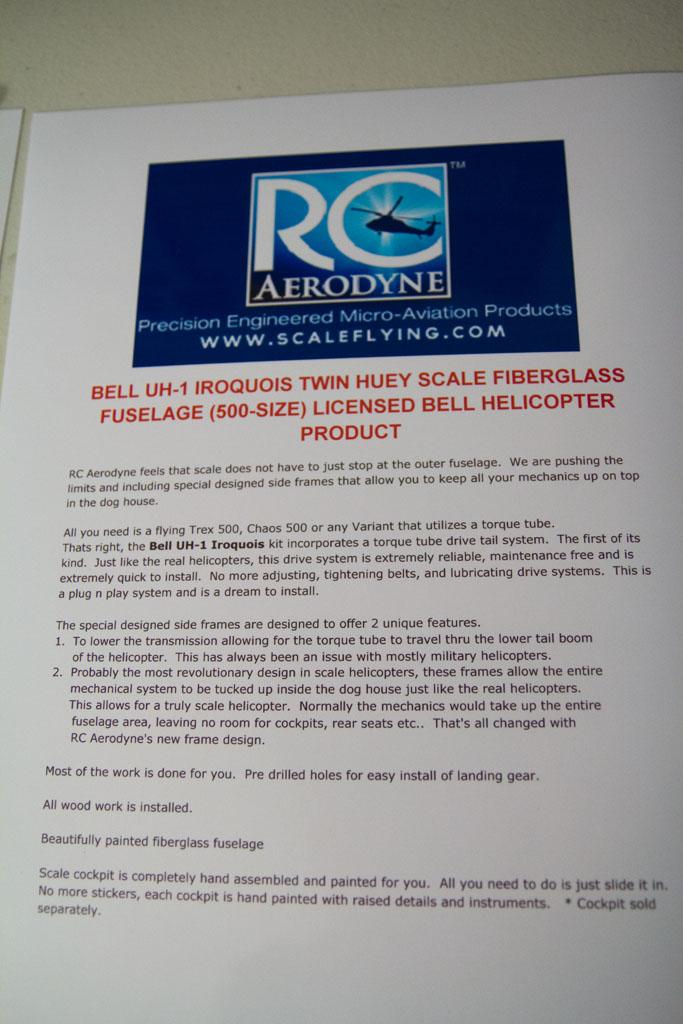 IMG_1521_02 IMG_1521_02 by carguy4471, on Flickr All in all the mock-up went pretty well. There were a couple small points of confusion that a little head scratching sorted out given a little time. The instructions aren't much help but the few pictures in there do lend a clue to get you in the right direction. All in all there really isn't much too this whole build. After the airshow the whole thing has to come back apart. Then I can begin wiring the lights. Once the motor shows up and can mount electronics in the frame and start the final wiring and assembly. What a gorgeous fuse though, really. I've seen my share and the quality and this one really blows me away. I was doing some pretty heavy handed monkeying around on the tail and I didn't need to worry much, the fiberglass is just solid. Many thanks to Cliff and RC Aerodyne for getting this project going. This thread will continue to be update throughout the duration of the build. |
|
mike
ROOKIE

Posts: 8
|
Post by mike on May 5, 2012 1:23:03 GMT -4
Anymore progress on this build, have you got the wiring on the lights done. Would like to see what they look like are they 3mm.
Mike
|
|
|
|
Post by carguy4471 on May 5, 2012 1:36:46 GMT -4
More progress. I got the pinion I needed so I was able to install that with the motor and finish of the frame with a good dose of loctite. Extended some wiring as well while I was at it. The receiver and telemetry will be mounted in the fuse and not to the frame, thus the reason they are laying next to the works. 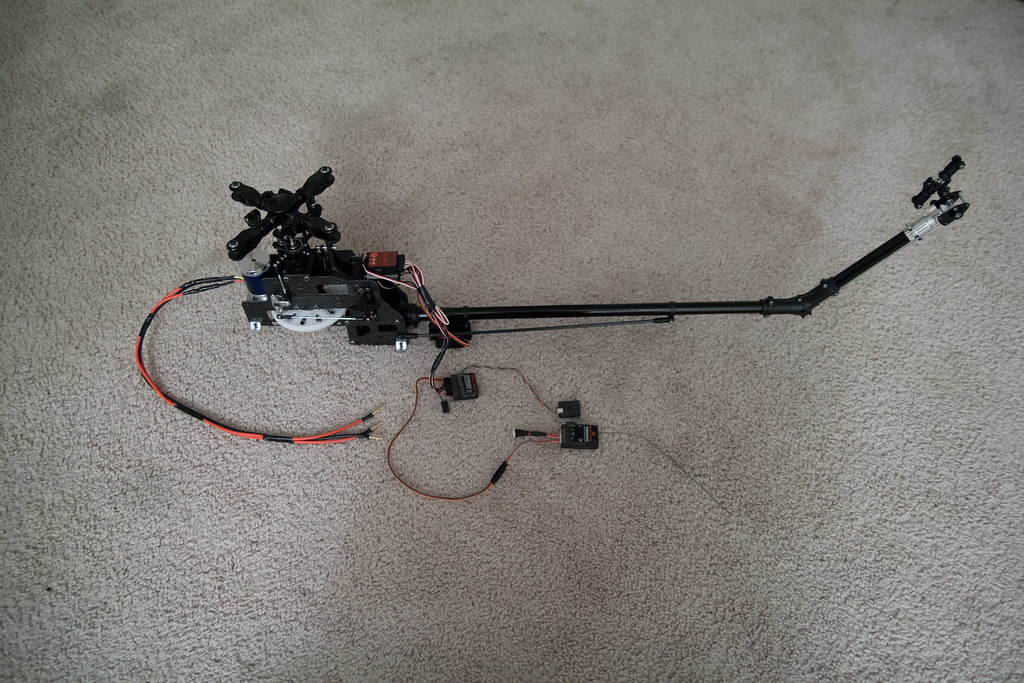 IMG_1977_07 IMG_1977_07 by carguy4471, on Flickr 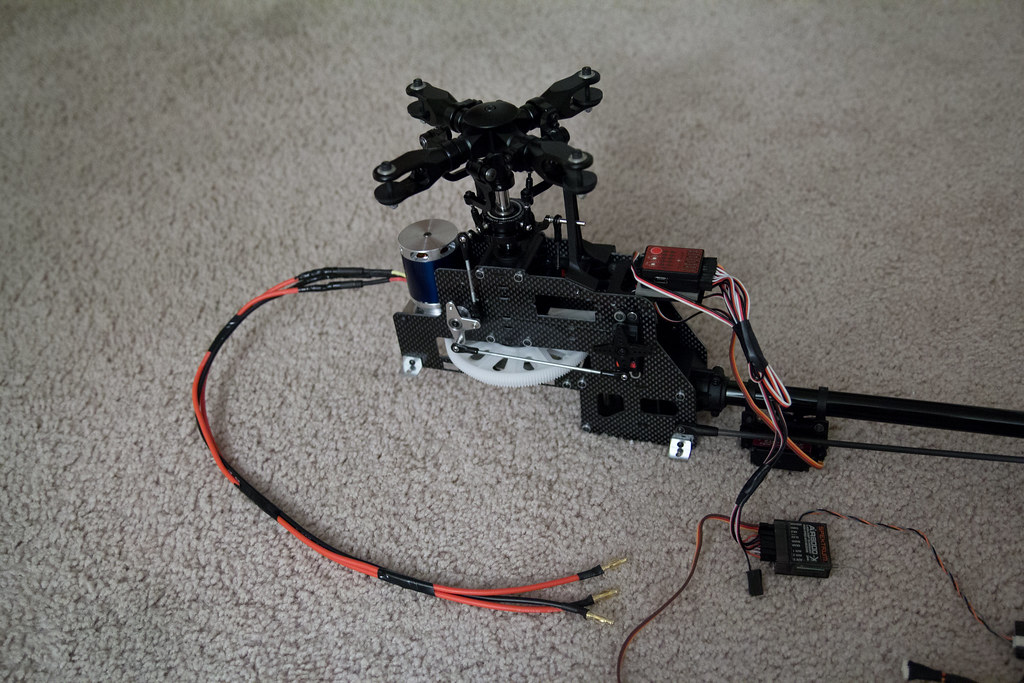 IMG_1975_06 IMG_1975_06 by carguy4471, on Flickr Before installing the lighting I wanted to get the decals on just to be sure there wouldn't be any real estate conflicts. Got them on and wow, what a difference.  IMG_1966_01 IMG_1966_01 by carguy4471, on Flickr 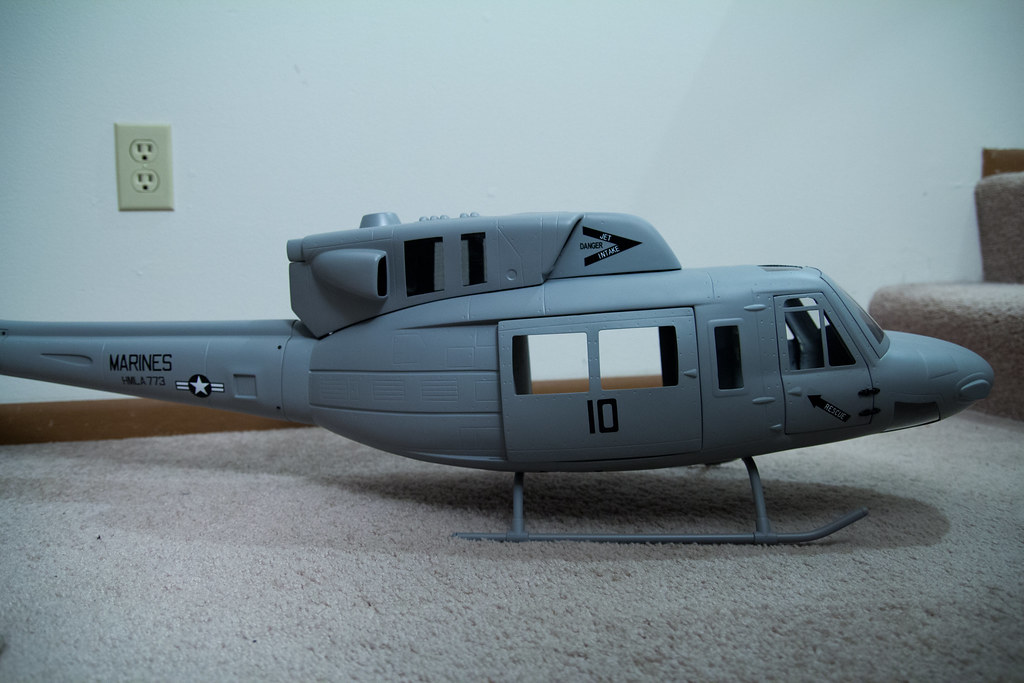 IMG_1967_02 IMG_1967_02 by carguy4471, on Flickr 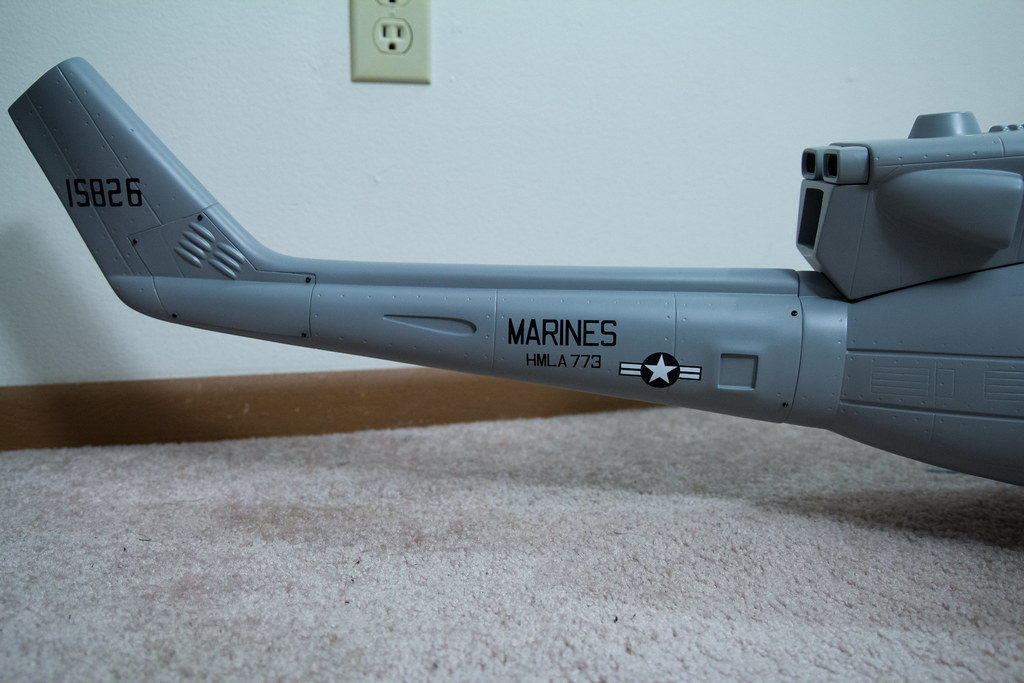 IMG_1968_03 IMG_1968_03 by carguy4471, on Flickr 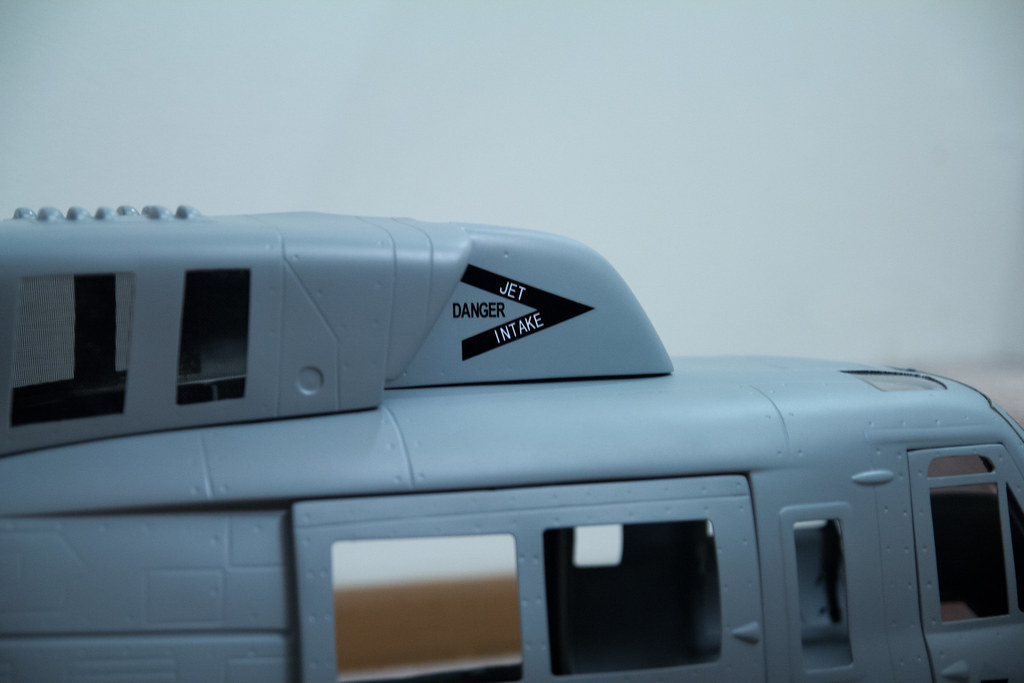 IMG_1969_04 IMG_1969_04 by carguy4471, on Flickr  IMG_1971_05 IMG_1971_05 by carguy4471, on Flickr I'm hoping to get a little airbrushing done to add some realistic touches of exhaust burn and what not before getting the lights in, but I'm still trying to hammer out someone for the job. Stay tuned...... |
|
|
|
Post by Valkman on May 5, 2012 7:00:13 GMT -4
Man that looks good. I like the way the mechanics are hiden away looks great.
Why did you put the decals on if your going to get some airbrush work done on it?
|
|
|
|
Post by carguy4471 on May 5, 2012 12:08:38 GMT -4
Man that looks good. I like the way the mechanics are hiden away looks great. Why did you put the decals on if your going to get some airbrush work done on it? If any of the airbrushing happens to hit the decals you'd want it to cover, as it would in real life. If a decal goes over say, exhaust burn, it would look very unrealistic. Sent from my PC36100 using ProBoards |
|
|
|
Post by Valkman on May 5, 2012 12:20:29 GMT -4
O yea...dooohhhhhh. I must have been a bit hung over and sleepy this morning when I typed that!
|
|
|
|
Post by carguy4471 on May 6, 2012 23:42:37 GMT -4
Alright, got the rest of the bits on the mechanics set. It is ready to go into the fuse. It looks a mess, but most of the electronics are being mounted in the fuse.  IMG_1979_01 IMG_1979_01 by carguy4471, on Flickr I plugged in all of the telemetry and electronics and gave it a mild run up. No apparent vibrations to speak of and telemetry is up and running with voltage, rx voltage, headspeed, and battery temp.  IMG_1980_02 IMG_1980_02 by carguy4471, on Flickr |
|
|
|
Post by markt on Jul 13, 2012 15:24:13 GMT -4
Excellent thread!
Some very long wires you have there, where are the ESC and batteries going to end up?
Just a thought, but given previous comments from Castle, are you planning to add any capacitors to the wires from the packs to the ESC?
Not 100% sure if it applies to LV ESC as well, but they certainly recommend this for the HV ESC.
|
|
|
|
Post by Chris Reibert on Jul 14, 2012 8:46:37 GMT -4
Dude that thing is coming along Great!
I love how RCA incorporated a TT angle tail boom kit instead of having to use a belt machine.
That thing is going to look awesome with all the mechanics hidden up in the dog house!!!
|
|
|
|
Post by goodhunting on Oct 1, 2012 19:39:10 GMT -4
any new developments? I was looking at this fuse for the future projects...
gh
|
|
|
|
Post by Dr. Evil on Oct 1, 2012 19:55:50 GMT -4
any new developments? I was looking at this fuse for the future projects... gh I think he went MIA...his last login date was back on July 7th!  |
|
|
|
Post by goodhunting on Oct 3, 2012 19:54:26 GMT -4
well I'm not exactly a regular either... I just though he might have an update...
gh
|
|


 ? seems like a decent deal for 749. !!!!!